- Explore
- Blog
- Step-by-Step Guide to Install Android on a Surface 3 Tablet
Step-by-Step Guide to Install Android on a Surface 3 Tablet
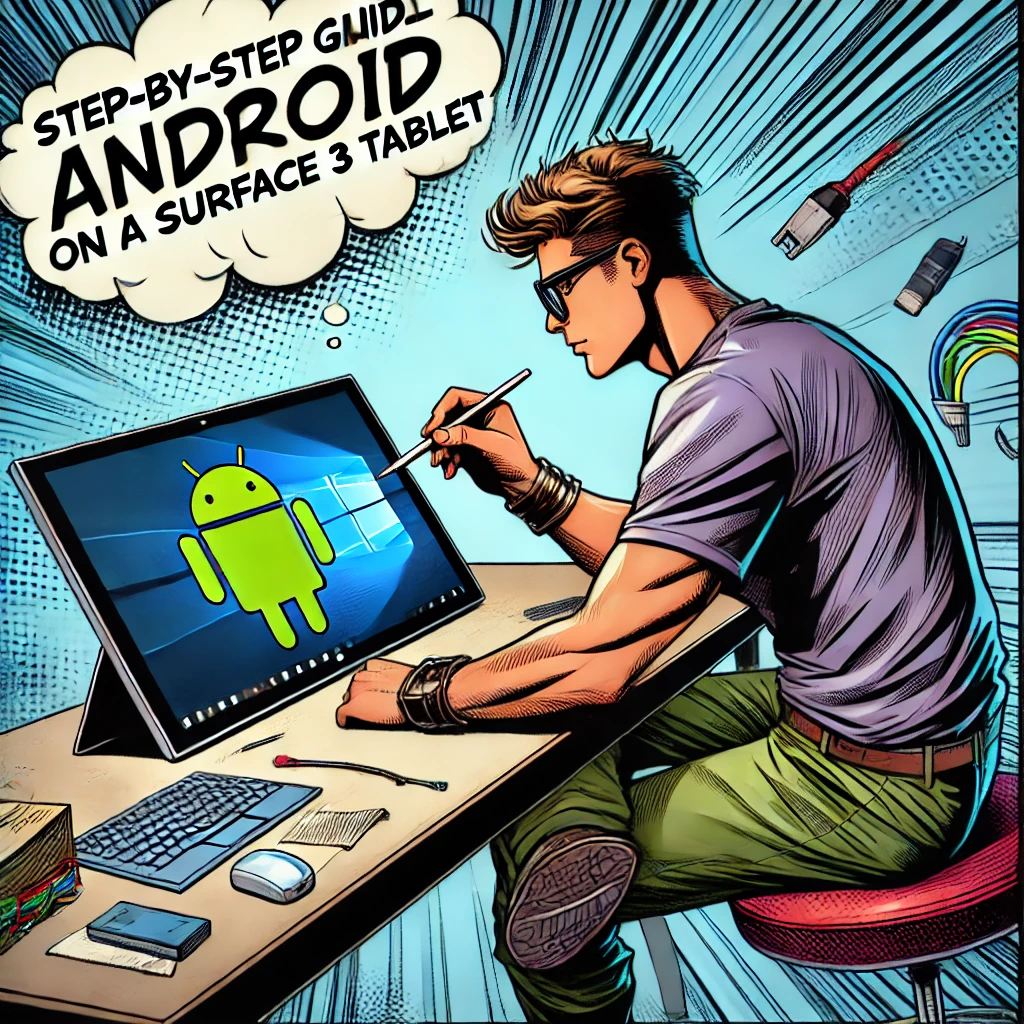
Transforming your Surface 3 tablet into an Android-powered device opens up a world of possibilities. With this guide, you can learn how to load Android onto my Surface 3 tablet and unlock access to countless Android apps. The Surface 3, being a full x64 device, provides the flexibility to run alternative operating systems like Android. This process can enhance your tablet’s functionality, making it more versatile for productivity or entertainment. By following the steps outlined in this guide, you can breathe new life into your device and explore its full potential.
Key Takeaways
Prepare your Surface 3 by backing up important data and ensuring sufficient battery life before starting the installation process.
Gather essential tools, including a USB drive, a USB OTG cable, and a Windows PC to create a bootable USB drive with the Android OS image.
Disable Secure Boot and enable USB booting in the BIOS settings to allow your Surface 3 to boot from the USB drive.
Follow the step-by-step instructions to create a bootable USB drive using Rufus, ensuring the correct settings for compatibility.
After installation, configure your Android settings, including syncing your Google account for seamless access to your data.
Explore the Google Play Store to download apps that enhance productivity and entertainment on your new Android system.
If you encounter issues, troubleshoot by checking BIOS settings and consider reinstalling Android as a last resort.
Before You Begin
Before diving into the process of installing Android on your Surface 3, it’s essential to prepare adequately. This section outlines the tools you’ll need and the precautions you should take to ensure a smooth installation.
Prerequisites and Tools Needed
To successfully install Android, gather the following tools and resources:
A compatible Surface 3 tablet: Ensure your device has sufficient storage and battery life. The Surface 3 comes in two configurations: one with 2GB RAM and 64GB storage, and another with 4GB RAM and 128GB storage. The latter is recommended for better performance.
A USB drive and a USB OTG cable: These are necessary for transferring and booting the Android OS image.
A Windows PC: Use this to download the required files and create a bootable USB drive.
Reliable internet access: You’ll need this to download the Android OS image and flashing tools.
Android OS image file and flashing tools: Obtain the Android-x86 ISO file and a tool like Rufus to create a bootable USB drive.
Tip: The Surface 3 supports x64 architecture, making it compatible with Android-x86. This flexibility allows you to run Android as an alternative operating system.
Important Precautions
Taking precautions before starting the installation process can save you from potential issues later. Follow these steps to protect your data and device:
Back up all important data: Use cloud storage or an external drive to save your files. Installing Android will erase existing data on your Surface 3.
Understand warranty implications: Installing Android may void your device’s warranty. Proceed only if you’re comfortable with this risk.
Ensure sufficient power: Charge your Surface 3 fully or keep it connected to a power source during the installation process.
Note: You may need to disable secure boot and enable USB booting in the BIOS settings. This step is crucial for booting the Android OS from the USB drive.
By gathering the necessary tools and taking these precautions, you’ll set yourself up for a successful installation. Proper preparation minimizes errors and ensures a smoother transition to running Android on your Surface 3.
Prepare Your Surface 3

Before installing Android on your Surface 3, you need to prepare the device properly. This section will guide you through enabling essential settings, securing your data, and downloading the required files.
Enable Developer Mode
To install Android, you must adjust specific settings on your Surface 3. Follow these steps to access and modify the BIOS/UEFI settings:
Restart your Surface 3 and press the volume-up button during startup. This action will open the BIOS/UEFI menu.
Locate the Secure Boot option in the menu. Disable it to allow the installation of alternative operating systems like Android.
Find the USB booting option and enable it. This step ensures that your Surface 3 can boot from the USB drive.
Check if your device supports virtualization. If available, enable virtualization to improve compatibility with the Android OS.
Tip: The BIOS/UEFI interface may vary slightly depending on your Surface 3 model. Refer to the official Microsoft documentation if you encounter difficulties.
Back Up Your Data
Installing Android will erase all existing data on your Surface 3. Protect your important files by creating a backup. Use one of the following methods:
Upload your files to a cloud storage service like Google Drive or OneDrive.
Transfer your data to an external hard drive or USB stick.
Reminder: Double-check your backup to ensure no critical files are missing. A thorough backup process prevents data loss during installation.
Download Necessary Files
To proceed with the installation, you need to download specific files and tools. Here’s what you should do:
Visit the official Android-x86 website and download the ISO file compatible with your Surface 3. This file contains the Android operating system.
Download Rufus, a reliable tool for creating bootable USB drives. You can find it on its official website.
Save both files to your Windows PC. Ensure the downloads are complete and free from errors.
Note: Use a USB drive with at least 8GB of storage for the bootable media. This ensures enough space for the Android ISO file.
By completing these steps, you prepare your Surface 3 for the Android installation process. Proper preparation minimizes errors and ensures a smoother experience when transforming your device into an Android-powered tablet.
How to Load Android onto My Surface 3 Tablet
Transforming your Surface 3 into an Android-powered device requires precision and the right steps. This section will guide you through creating a bootable USB drive, booting your Surface 3 from it, and completing the Android installation process.
Create a Bootable USB Drive
To begin, you need to prepare a USB drive that contains the Android operating system. Follow these steps to create a bootable USB drive:
Launch Rufus on your Windows PC: Open the Rufus tool after downloading it. Insert your USB drive into the computer.
Select the Android-x86 ISO file: In Rufus, choose the downloaded Android-x86 ISO file as the bootable image.
Configure the settings: Set the partition scheme to GPT and the target system to UEFI. This ensures compatibility with your Surface 3.
Start the flashing process: Click "Start" to flash the ISO onto the USB drive. Rufus will erase all existing data on the drive, so ensure it contains no important files.
Tip: After the process completes, verify the USB drive is bootable. You can do this by checking if the Android files are present on the drive.
Boot Your Surface 3 from the USB Drive
Once the bootable USB drive is ready, you can proceed to boot your Surface 3 from it. Follow these steps:
Insert the USB drive: Connect the USB drive to your Surface 3 using a USB OTG cable if necessary.
Restart your Surface 3: While restarting, press the F12 key repeatedly to access the boot menu.
Select the USB drive: In the boot menu, choose the USB drive as the boot device. This action will load the Android installer.
Note: If the boot menu does not appear, ensure you have disabled Secure Boot and enabled USB booting in the BIOS/UEFI settings. You may also need to enable virtualization for better compatibility.
Install Android on the Surface 3
With the Android installer loaded, you can now install the operating system on your Surface 3. Follow these steps carefully:
Follow the on-screen instructions: The installer will guide you through the process. Read each step thoroughly before proceeding.
Partition the drive: When prompted, create or select a partition for the Android installation. Ensure the partition has enough space for the operating system and apps.
Complete the installation: Once the installation finishes, remove the USB drive and reboot your Surface 3.
Reminder: During the reboot, your Surface 3 should load Android. If it does not, revisit the BIOS/UEFI settings to confirm the boot order prioritizes the internal drive.
By following these steps, you can successfully load Android onto your Surface 3 tablet. This process transforms your device into a versatile platform for running Android apps and exploring new possibilities.
Post-Installation Setup
After successfully installing Android on your Surface 3, you need to configure the system for optimal performance. This section will guide you through setting up Android, installing apps, and resolving common issues.
Configure Android Settings
To start using your new Android system, follow these steps to configure essential settings:
Set up your Google account and sync your data.
Open the Settings app on your Surface 3 running Android.
Navigate to the Accounts section and select Add Account.
Choose Google and sign in with your credentials.
Enable synchronization to access your emails, contacts, and calendar.
Tip: Syncing your Google account ensures seamless access to your data across devices.
Adjust system settings for optimal performance.
Go to Settings and explore options like Display, Battery, and Storage.
Adjust the screen brightness and timeout settings to conserve battery life.
Enable Developer Options by tapping the build number in About Tablet seven times. Use this menu to tweak advanced settings like virtualization for better app compatibility.
Note: Customizing these settings can enhance your experience and improve the overall performance of your Surface 3.
How to Install Android Apps
Installing apps is essential to make the most of your Android-powered Surface 3. Here’s how to install Android apps effectively:
Use the Google Play Store to download apps.
Open the Google Play Store from your home screen or app drawer.
Search for the apps you need, such as productivity tools or entertainment platforms.
Tap Install to download and install the app on your device.
Reminder: Ensure your Surface 3 is connected to a stable internet connection for smooth downloading of Android apps.
Install tools for productivity, entertainment, and customization.
Explore categories in the Play Store like Productivity, Games, and Personalization.
Download apps like Microsoft Office, Netflix, or custom launchers to tailor your experience.
For apps not available on the Play Store, you can sideload Android apps by enabling Unknown Sources in the security settings.
Caution: Only sideload apps from trusted sources to avoid security risks.
Troubleshooting Common Issues
If you encounter problems after installation, use these steps to resolve them:
Resolve boot errors or crashes.
Restart your Surface 3 and access the BIOS/UEFI settings.
Verify that Secure Boot is disabled and the boot order prioritizes the internal drive.
Reboot the device to check if the issue persists.
Tip: Boot errors often occur due to incorrect BIOS settings. Double-check your configuration.
Adjust BIOS/UEFI settings if Android doesn’t load properly.
Enter the BIOS/UEFI menu by pressing the volume-up button during startup.
Confirm that USB booting is disabled after installation.
Save changes and restart your Surface 3.
Note: Incorrect BIOS settings can prevent Android from loading. Adjust them carefully.
Reinstall Android if necessary.
Create a new bootable USB drive with the Android-x86 ISO file.
Follow the installation steps outlined earlier in this guide.
Ensure proper partitioning during reinstallation to avoid errors.
Reminder: Reinstallation should be your last resort. Exhaust other troubleshooting methods first.
By completing these steps, you can optimize your Surface 3 for Android and enjoy a seamless experience. Whether you’re downloading Android apps or resolving issues, this guide ensures you get the most out of your device.
Installing android on your Surface 3 tablet opens up exciting possibilities. You gain access to a versatile operating system that supports countless apps for productivity and entertainment. By following this guide, you can transform your device into an Android-powered tablet with ease. Always back up your data and carefully follow each step to avoid issues. If challenges arise, explore online forums or consult the Android-x86 community for support. With features like Bluetooth, Wi-Fi, and touch screen functionality working seamlessly, your Surface 3 becomes a powerful tool for everyday tasks.


